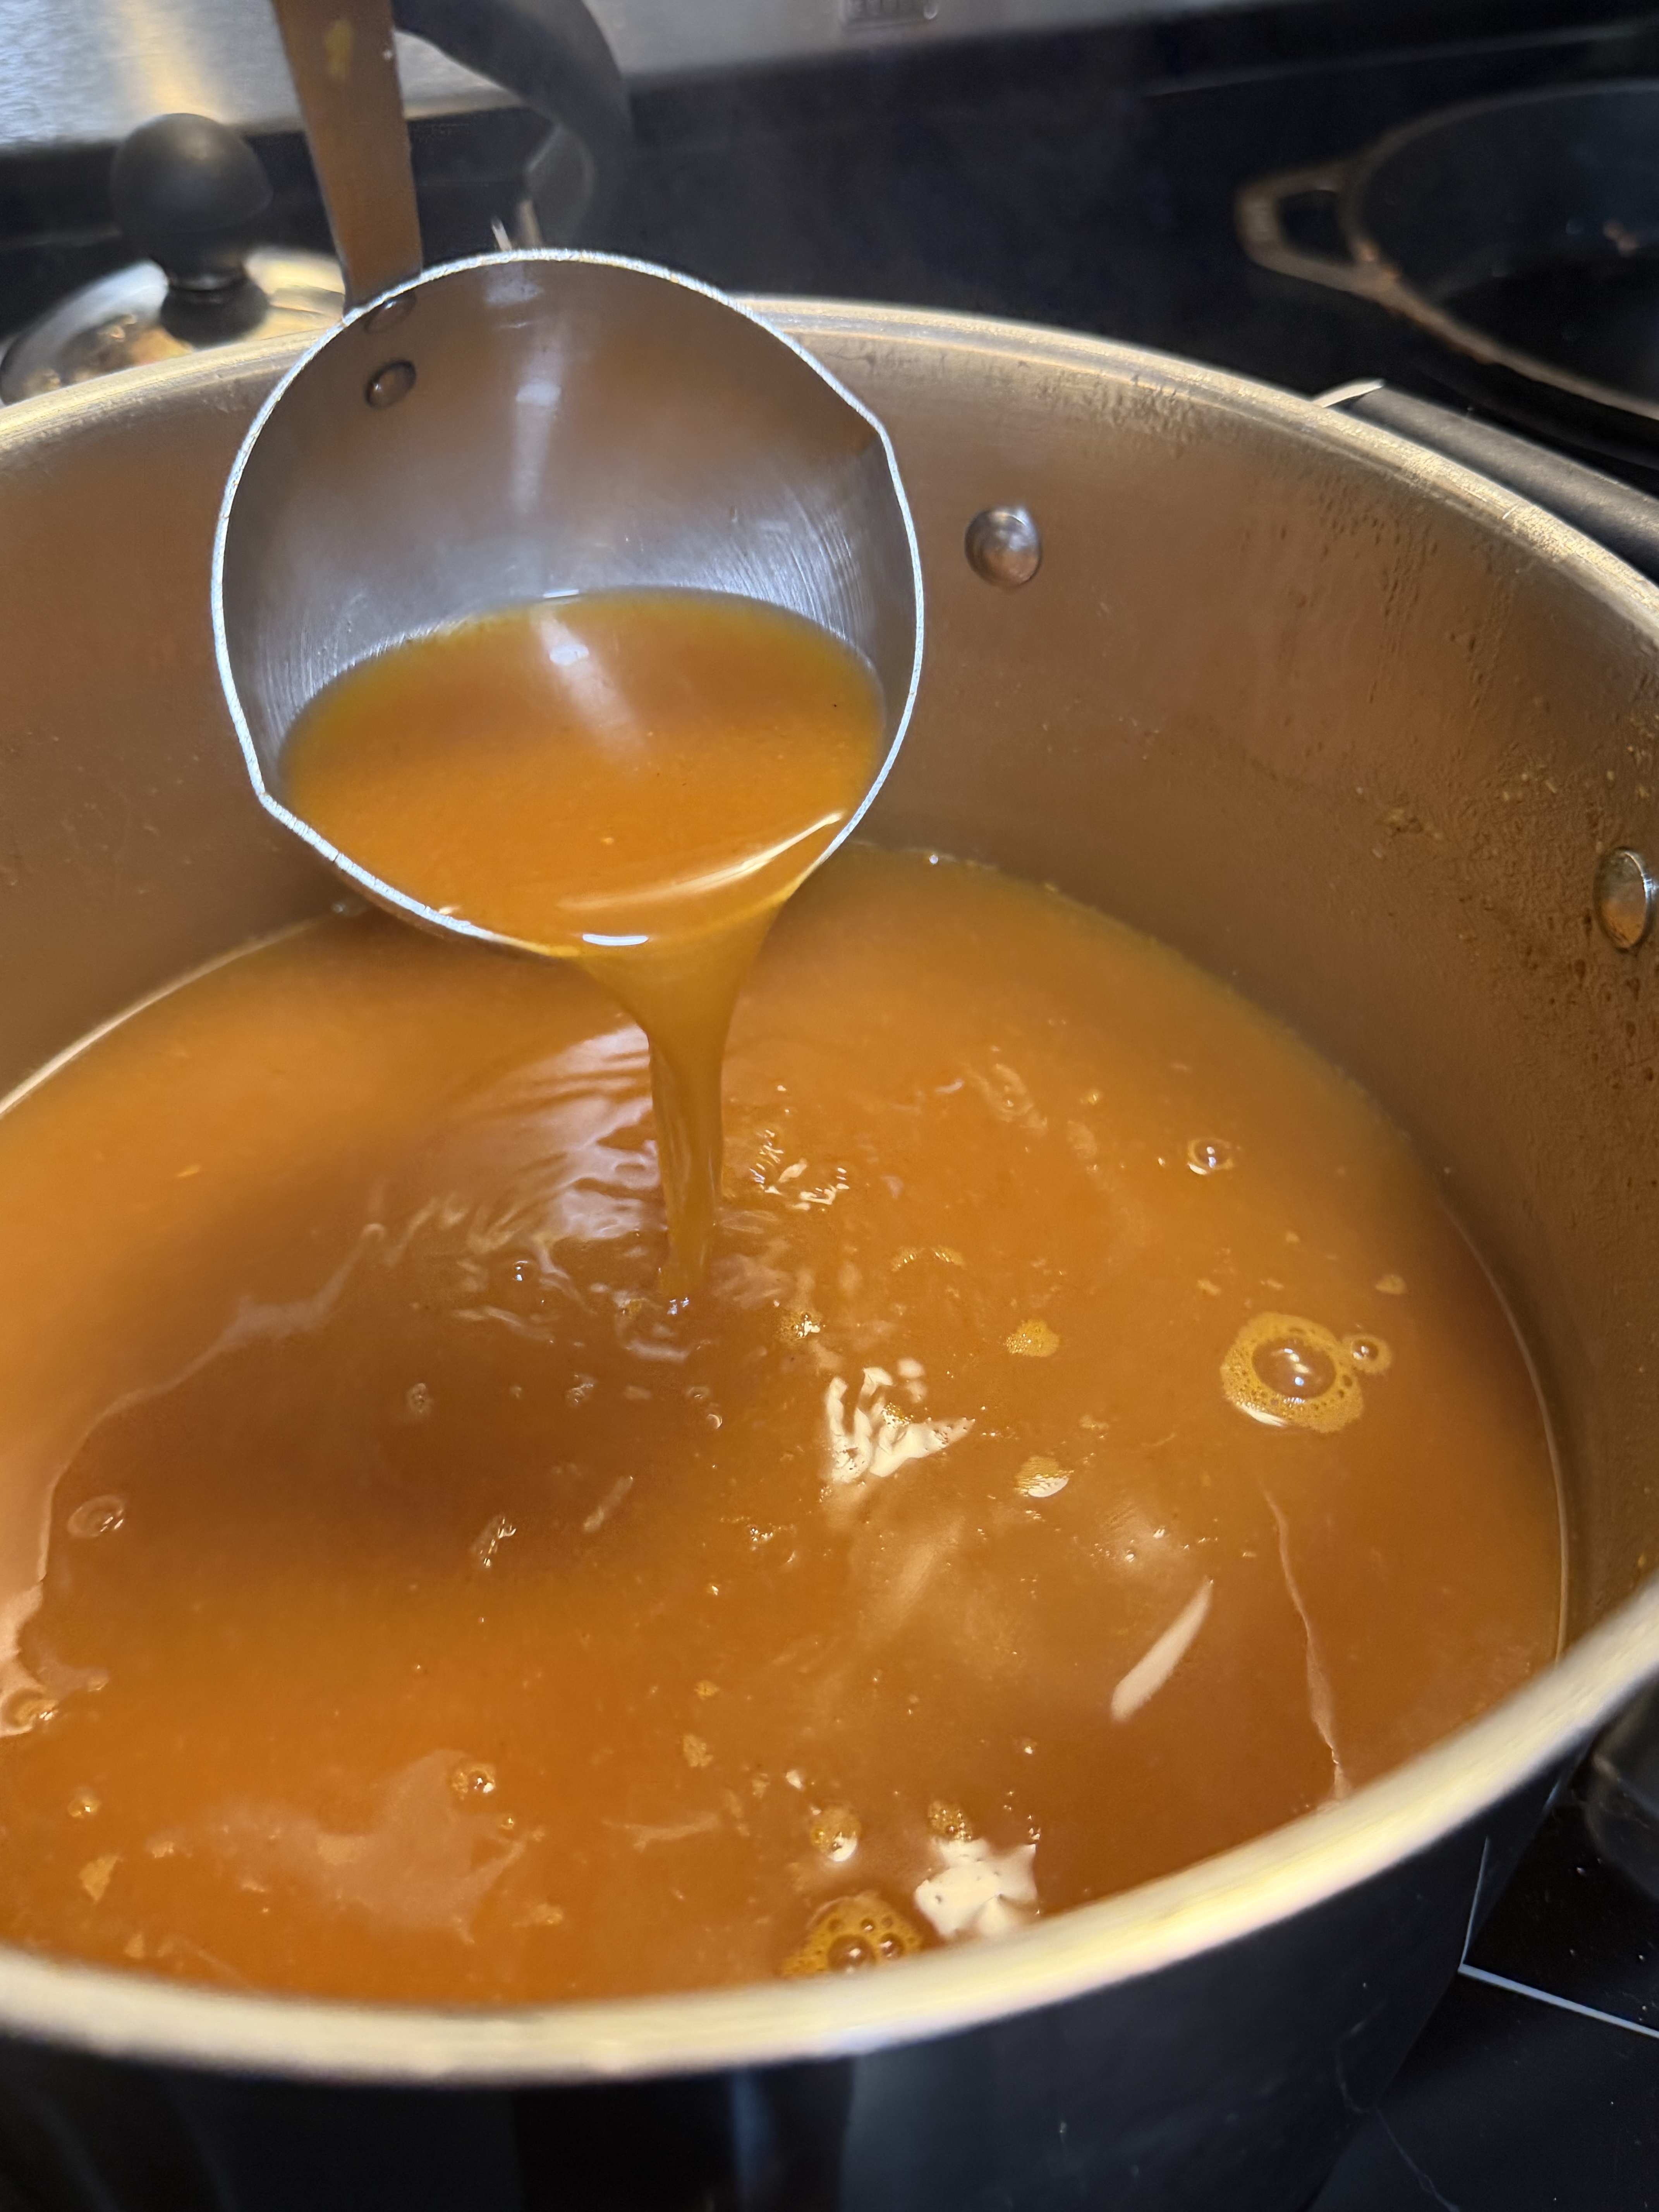
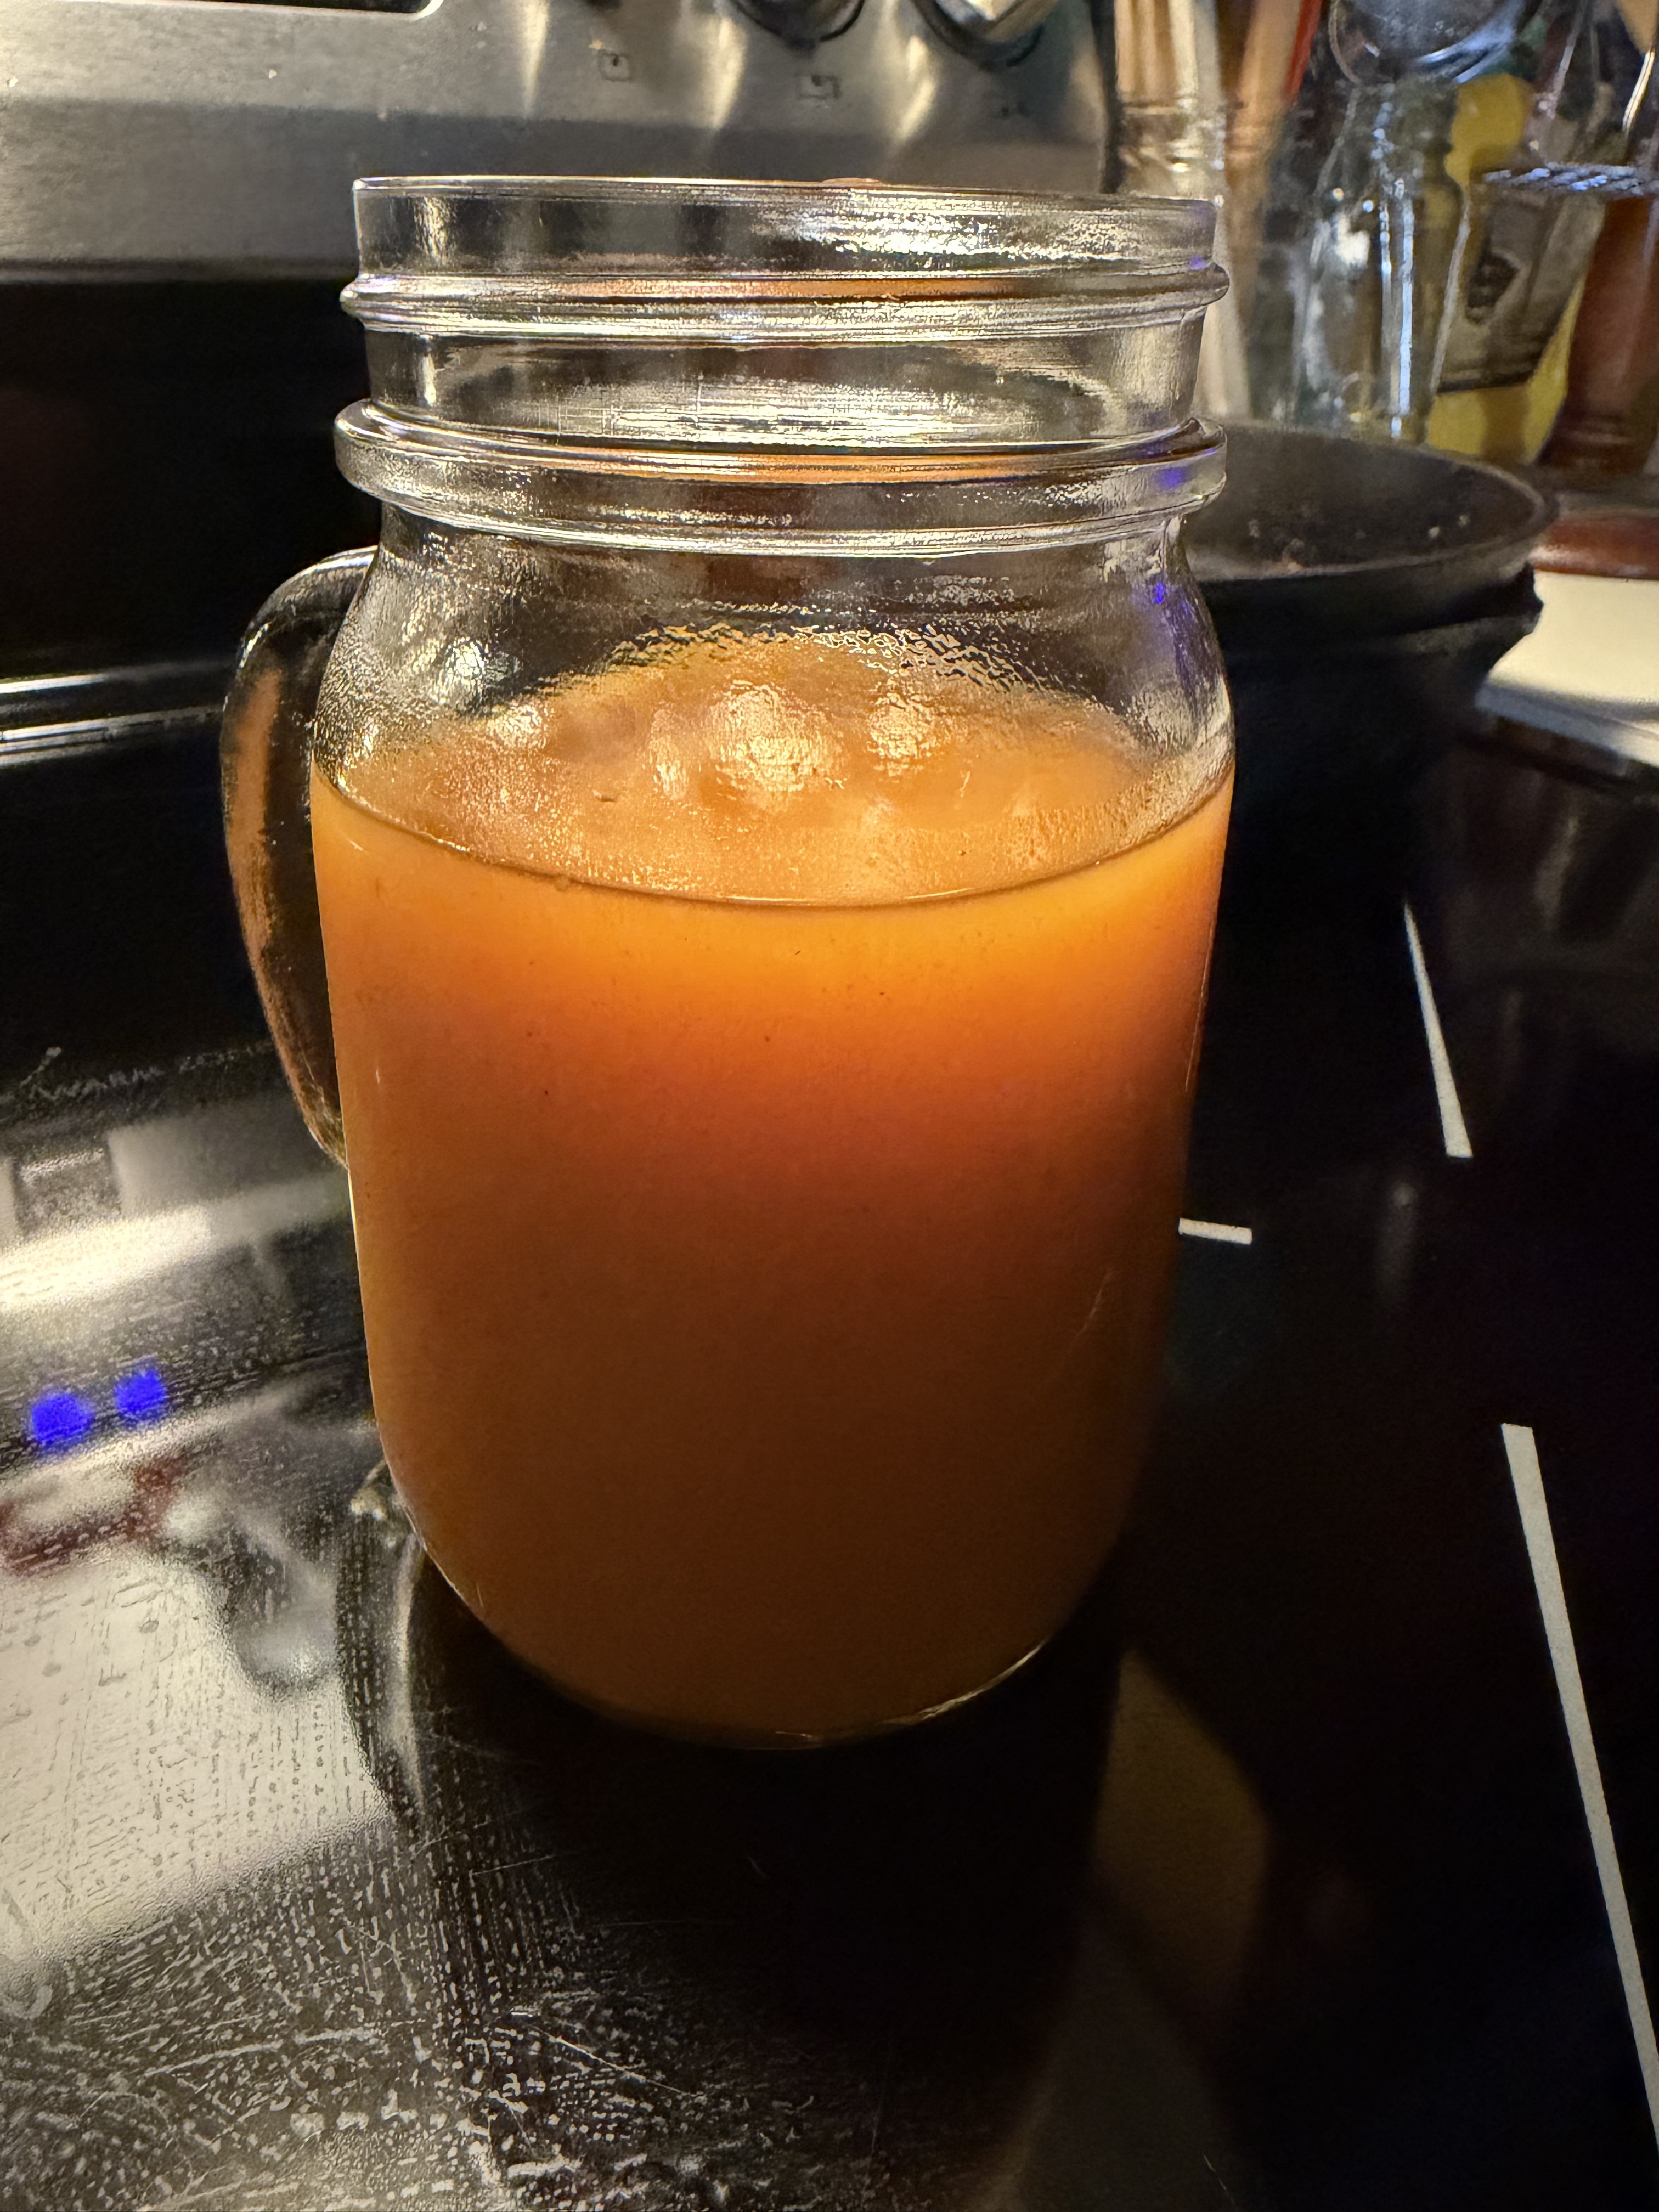
For all the Potterphiles out there, you’ll know what I’m talking about! For the rest of you, how about a new Autumn tradition of some homemade brew?
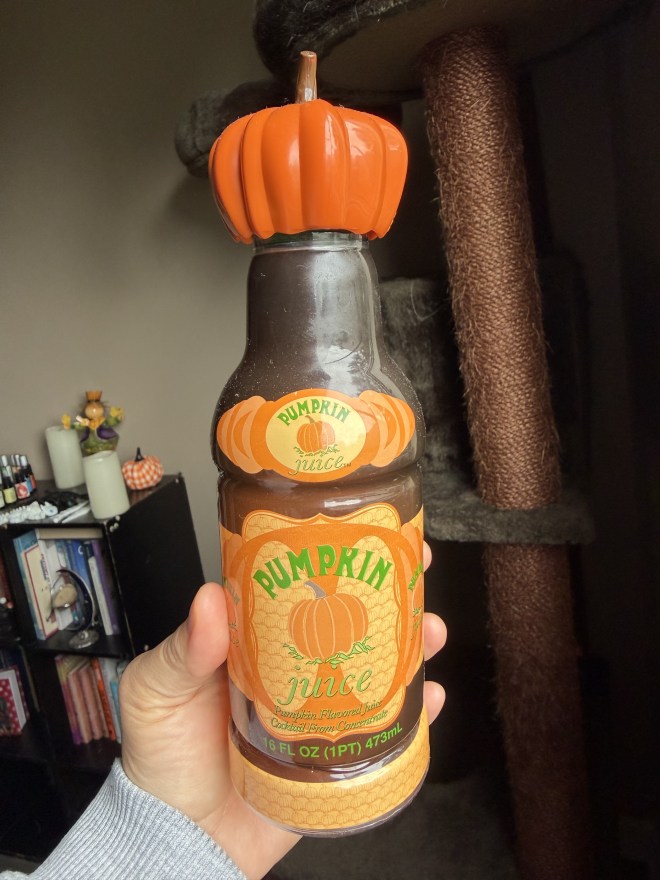
When I went to Universal the first time–many moons ago–I was able to purchase some pumpkin juice and bring the bottles home. However, they do not sell these anymore.
You can still smell the pumpkin juice when you take off the lid!
So there is no way of telling how close my recipes are to the Potter drink. My guess, though, is that the Potter one has much more sugar in it than I use, but until I taste that tasty drink again, I just have to guess.
Or, rather, with the help of the kid. I made some pumpkin juice over the weekend, and he said it was perfect. It’s super easy to do, and the good news is, you can make it taste however you want.
1 liter of apple juice OR apple cider
1 can of pumpkin OR pumpkin pie filling
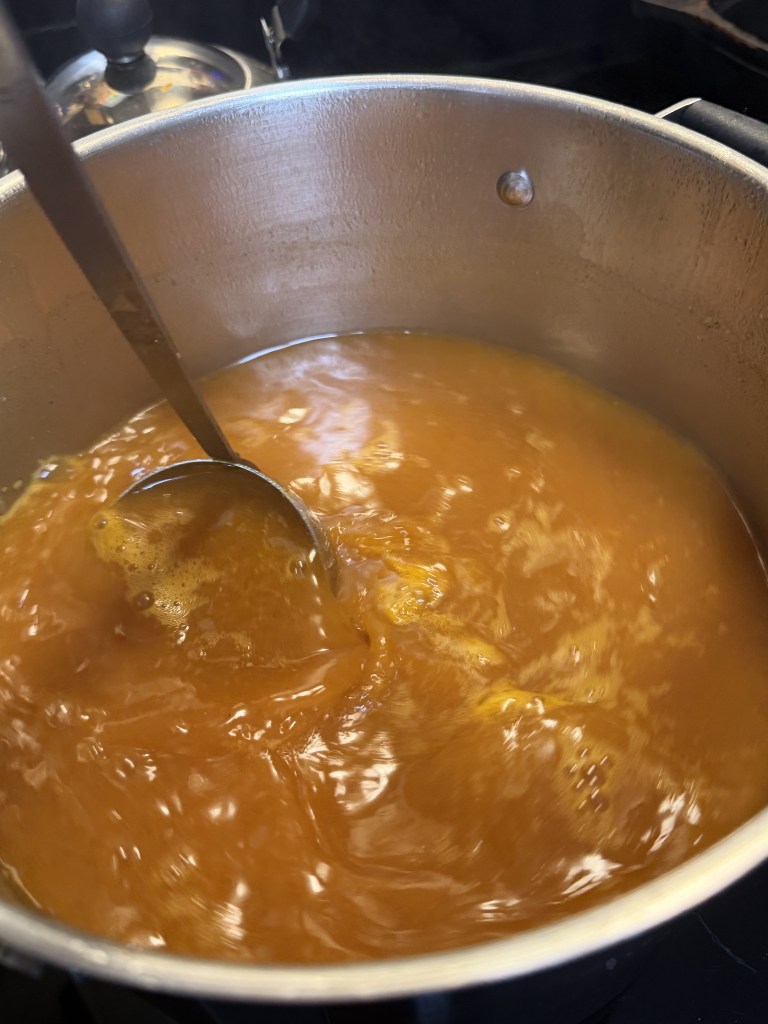
Mix together on stove, stir until boiling. Lower heat and simmer as you add the other ingredients. Take care, boiling pumpkin juice is hot! Immediately serve, or let it cool.
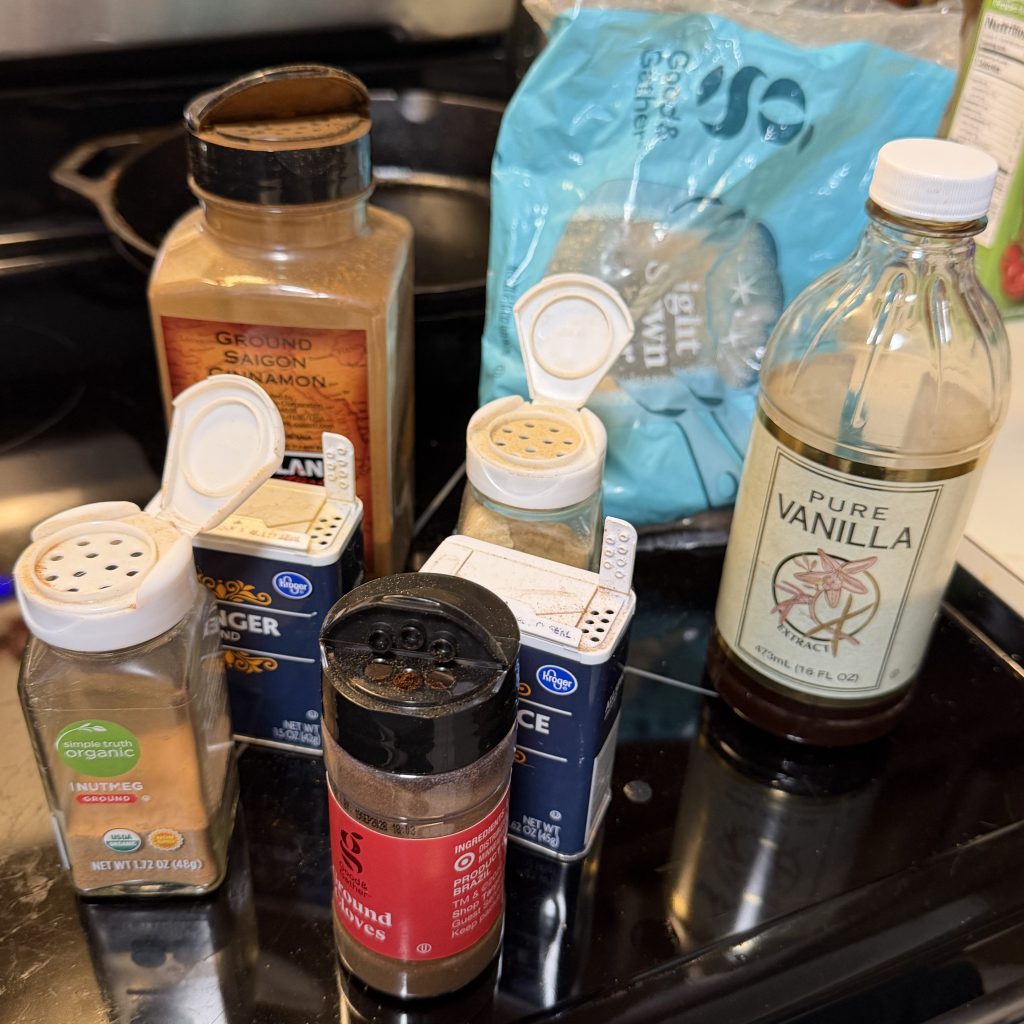
SUGGESTED SPICES:
Allspice
Ginger
Cinnamon
Nutmeg
Cardamom
Cloves
Nutmeg
Pumpkin Pie Spice
I also added a little bit of light brown sugar and vanilla extract.
Stir, stir, stir, then pour!
TIP:
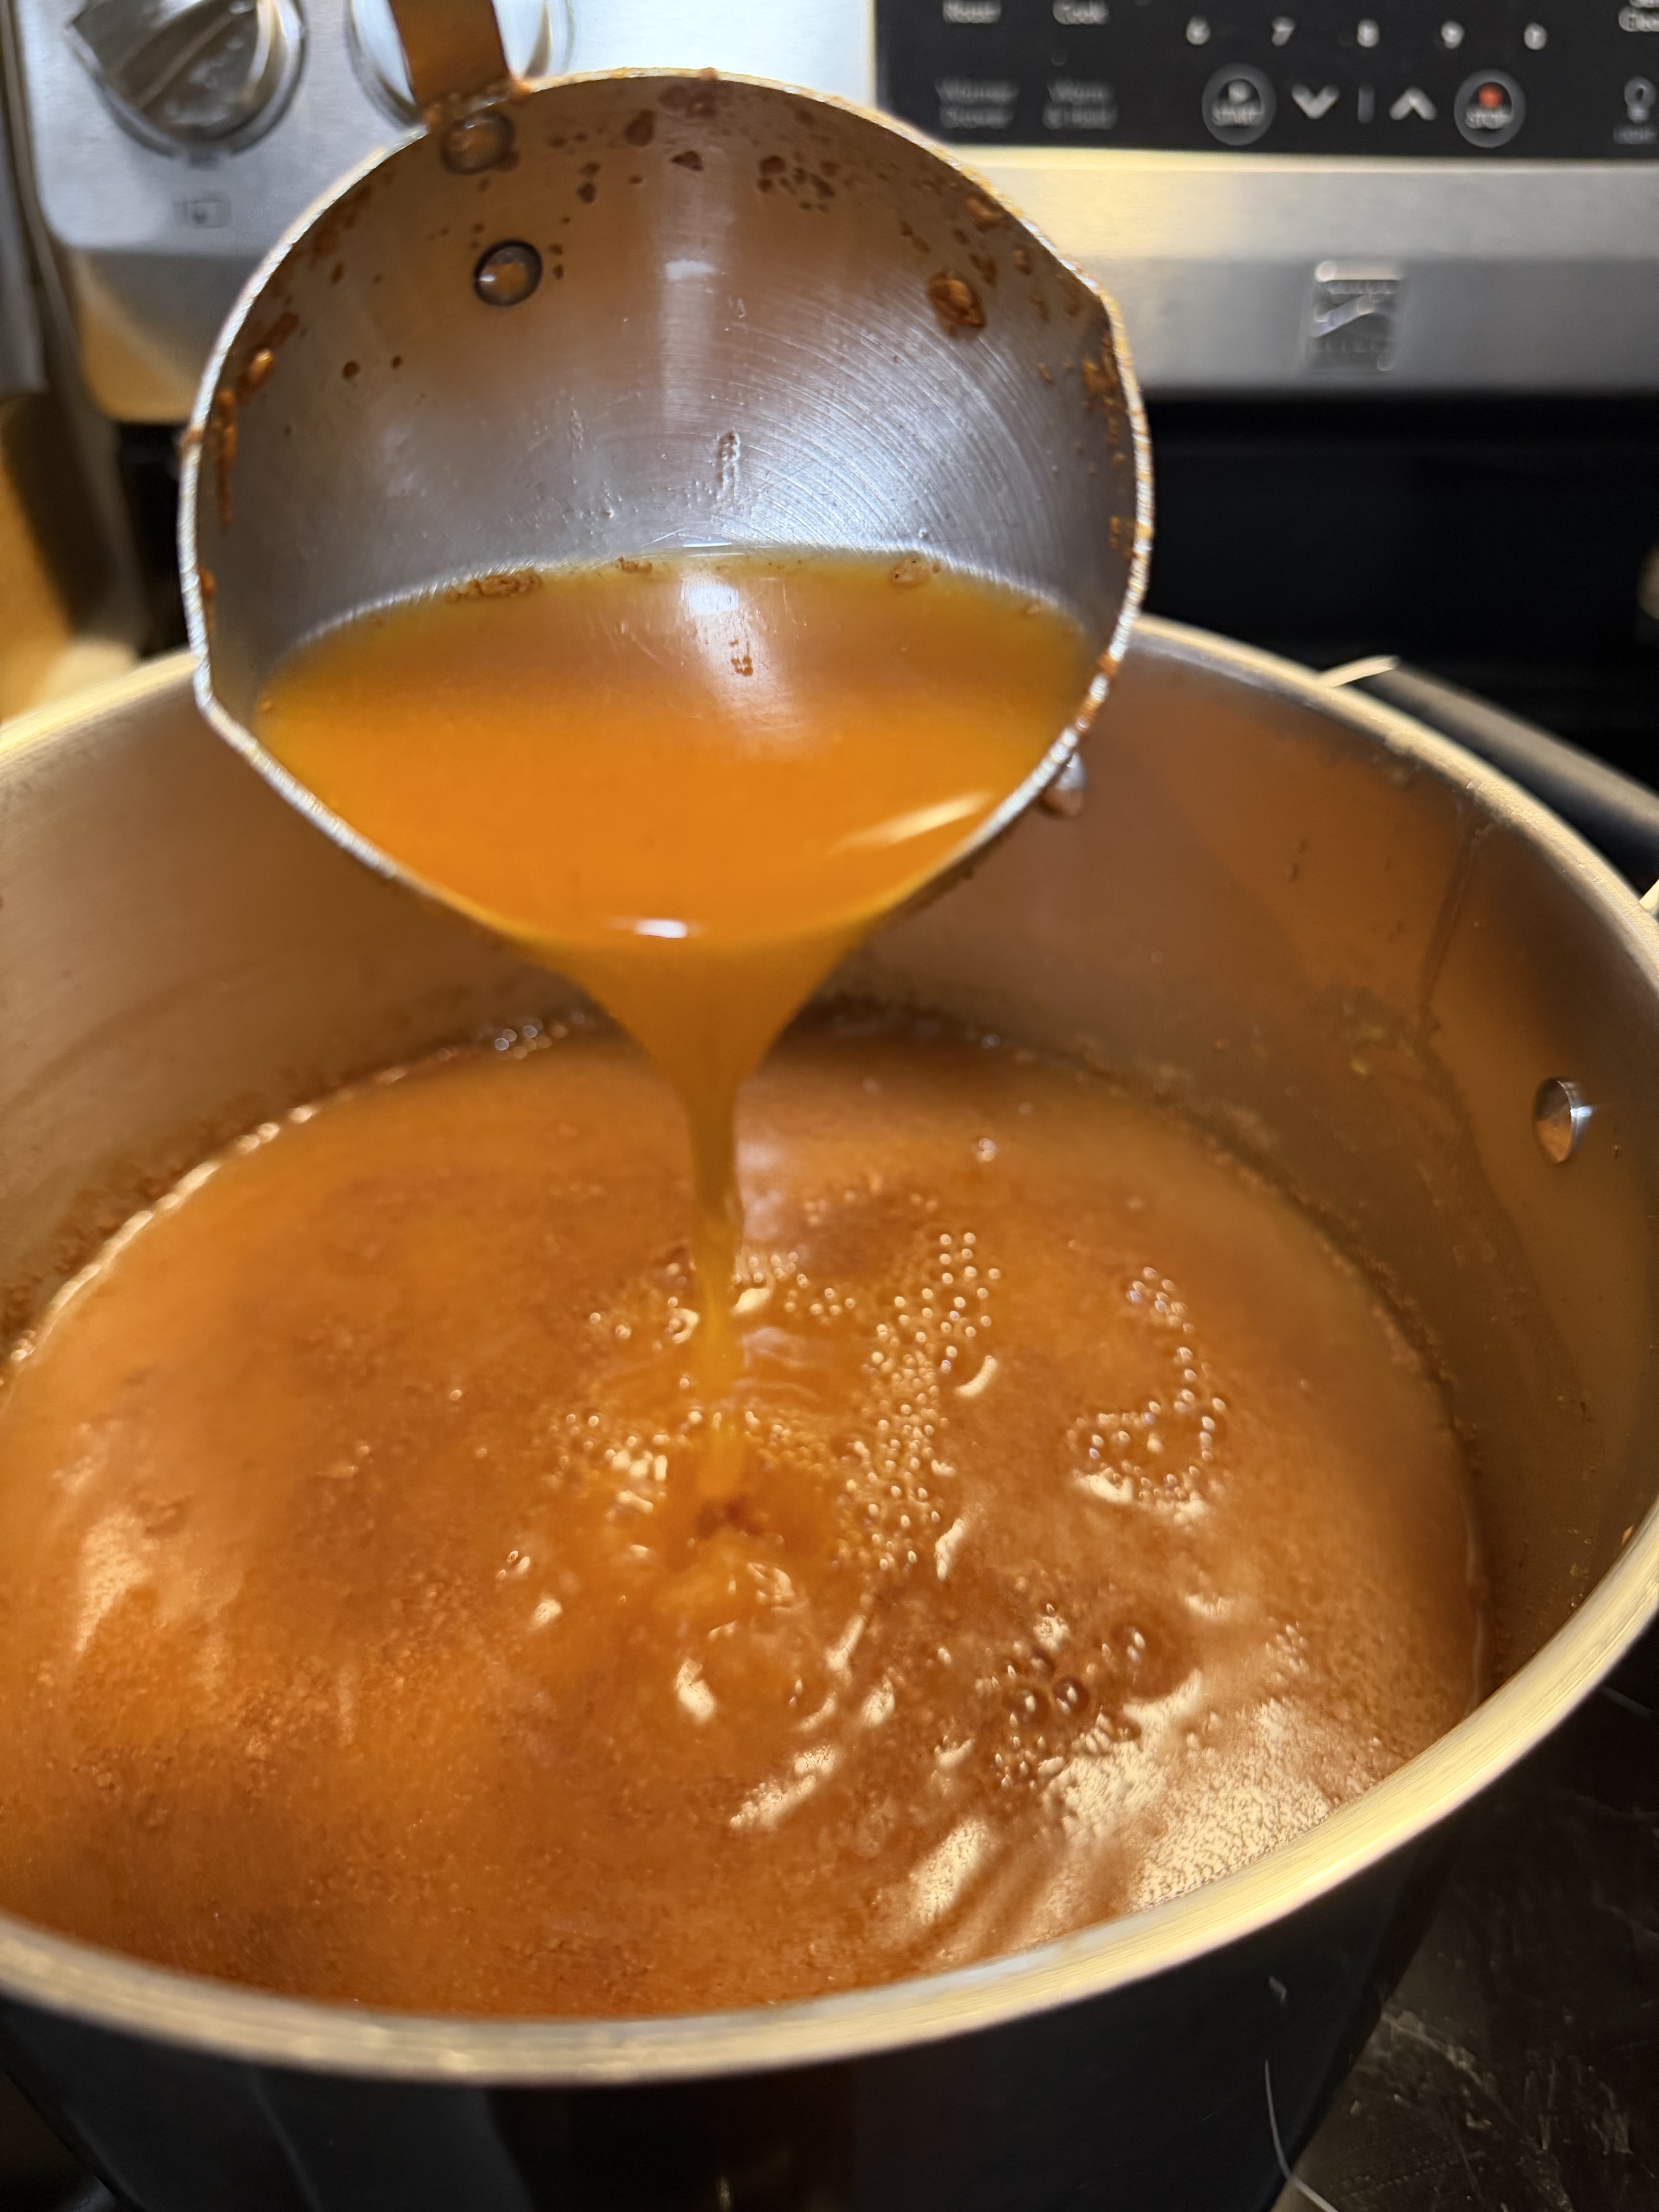
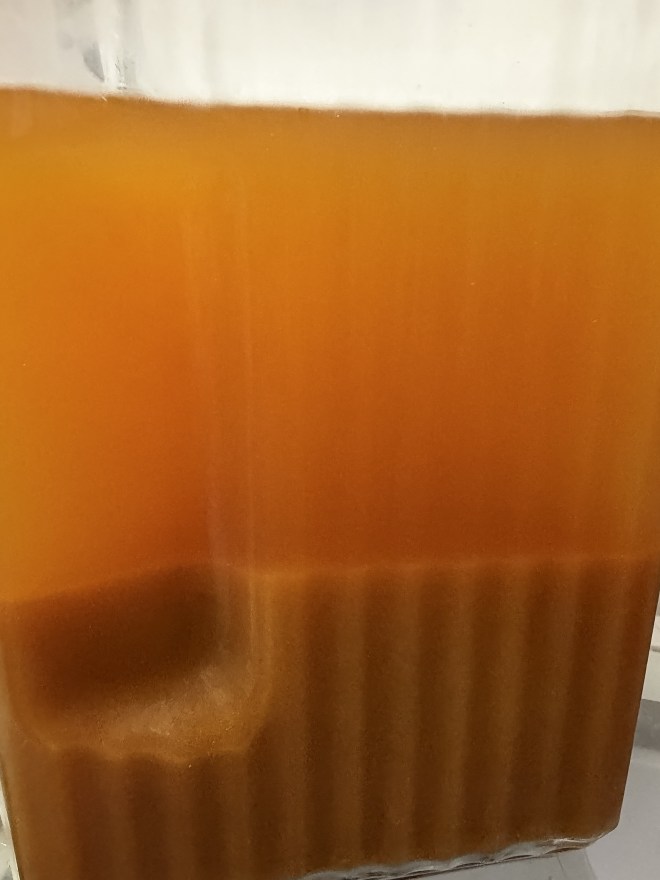
The pumpkin and spices will settle after a while, so you will definitely need to mix it/shake it up every time you serve.
Look at all that settling!
On that note, I’ve talked myself into it–time for a nice, cold glass! We usually serve it hot when we make it, then put it in the fridge until it’s gone.
Enjoy! I know I am!
This delicious post is brought to you by Allison of Nani Lotus Bodywork & powered by Meditating Squirrel. AI was not used in crafting this article, thus, all tasty errors belong to Allison.
Thank you for reading!Please support this blog by sharing it with others, or even a one-time donation!
by Contributor Julia Merrill Read her bio here * Read her posts here
Health-focused entrepreneurs, coaches, clinicians, fitness professionals, and community educators, often see clear wellness business opportunities but struggle to convert lived experience into a real offer that fits regulations, customer needs, and day-to-day operations. The core tension is simple: passion and credibility can spark interest, yet a passion-to-business transformation requires structure, boundaries, and a viable model. Many motivations for health entrepreneurs start with wanting to help others and end up colliding with pricing discomfort, uncertainty about scope, and fear of “getting it wrong.” With the right foundation, health industry startups can grow from a mission into a business that serves people consistently.
Build a Compliant Wellness Business, Step by Step
This process helps you turn your health passion into a real, legally sound wellness business with a clear offer, defined audience, and a practical plan to fund and set up operations. For general readers, it reduces guesswork and lowers risk by focusing on credibility, compliance, and simple decisions you can make in order.
Confirm your scope, credentials, and licenses Start by writing down what you will do, what you will not do, and who you can safely serve, so your services match your training. Then verify the business credentials for health professionals you already have or still need, along with any health business licenses, permits, and insurance requirements that apply to your services.
Define your target market and the specific problem you solve Choose one primary group, one primary outcome, and one primary setting (online, in-home, studio, clinic, workplace) so your message is clear. A simple target market analysis includes demographics, common barriers, budget sensitivity, and where people already look for help.
Validate demand with lightweight market research Conduct market research that you can complete in days, not months, such as 10 to 20 short interviews and a one-page survey. Use online surveys to test which problems feel most urgent, what people have tried before, and what they would pay for next.
Choose funding that fits your risk level and timeline Estimate your startup costs (tools, rent, software, insurance, licensing, marketing) and your monthly “keep the doors open” number, then match that to funding options for startups like bootstrapping, a small business loan, a partner, or a pilot program with pre-sales. Pick the option that keeps you solvent for at least 3 to 6 months while you refine delivery.
Select a legal structure and set up the basics Choose a legal business structure that matches your risk and taxes, such as sole proprietorship, LLC, partnership, or corporation, then register it and open a separate business bank account. Confirm contracts, consent forms, and privacy practices align with your services so you can launch confidently and operate consistently.
Creating a Non-Medical Senior Home Care Agency → Certification, Costs, Operations, Compliance
Once you’ve mapped credentials, pricing, and legal setup, a concrete example can make those steps easier to apply. Starting a non-medical senior home care agency can be a meaningful wellness-focused business because it supports older adults’ independence, comfort, and overall quality of life, while also creating a sustainable career path. A key early decision is clearly defining what your caregivers can and cannot do within a non-medical scope, especially around companionship and daily living support, so clients understand the boundaries from day one and your agency reduces avoidable liability. Because most non-medical senior home care agencies charge by the hour, your rates should be grounded in local reality: research nearby competitors and typical price ranges so you can set fees that are competitive for your market and still financially sustainable for staffing and operations. As you formalize the business side, resources on how to form a CPR training LLC can help you think through the entity-formation details.
Plan → Deliver → Review → Scale
A simple rhythm keeps your passion grounded in consistent service, measurable improvement, and steady growth. Because a health and wellness business centers on helping people improve physical, mental, or emotional well-being, your workflow should protect quality while you add clients, tools, and staff.
Stage
Action
Goal
Clarify offer
Define scope, outcomes, and client fit
Fewer mismatches, clearer expectations
Acquire clients
Choose two channels; book consults weekly
Predictable inquiries and conversions
Deliver reliably
Use checklists, documentation, and follow-ups
Consistent care and reduced errors
Retain and refer
Schedule touchpoints; request feedback and reviews
Repeat business and warm referrals
Systemize and hire
Create SOPs; train; audit quality monthly
Capacity grows without quality slipping
Expand intentionally
Pilot add-ons; track demand; refine pricing
New revenue with controlled risk
Each stage feeds the next: clarity improves acquisition, reliable delivery drives retention, and retention makes hiring and expansion safer. Review your metrics weekly, then adjust one small lever at a time so the business stays sustainable.
Wellness Business Startup Questions, Answered
Q: What licenses or regulations do I need before taking clients? A: Start by defining exactly what you do and do not do, then match it to your training and local rules. Confirm whether you need a business license, professional credential, liability insurance, and privacy practices for client records. When in doubt, book a short consult with an attorney or compliance specialist so you do not guess.
Q: How can I fund my wellness business if I cannot get a loan yet? A: Begin with a lean offer, pre-sell a small pilot package, and reinvest profit into tools and education. Keep fixed costs low by using shared space, virtual sessions, or pop-ups. Track cash weekly so you see problems early and can adjust pricing or capacity.
Q: How do I market ethically without sounding salesy or making health claims? A: Lead with informed consent, realistic outcomes, and clear boundaries, and never imply guaranteed results. Many consumers believe businesses committed to ethical marketing practices are more likely to last, so plain language is a strength. Use testimonials carefully and add simple disclaimers about who your service is for.
Q: Can I use AI tools for content without harming trust? A: Yes, if you disclose when AI supported the draft and you personally verify every health-related statement. In healthcare marketing; transparency is vital for keeping credibility. Keep your voice, cite reputable references, and avoid “diagnose and treat” language.
Q: How do I protect my time so the business does not take over my life? A: Set office hours, cap weekly client slots, and batch admin tasks into two scheduled blocks. Use templates for intake, follow-ups, and invoices to reduce decision fatigue. Build a waitlist instead of overbooking, then raise rates or hire support when demand stays steady.
Turn Health Expertise into a Sustainable Wellness Business This Week
Turning a health passion into a business can feel risky when regulations, funding, ethical marketing, and time pressures collide. The path forward is a steady, evidence-informed approach: clarify your scope, build trust through compliant services, and make decisions that protect long-term business sustainability. When key success factors are treated as systems, not one-off fixes, entrepreneurial confidence grows and applying health business strategies becomes routine rather than stressful. Build the business like you practice health: consistent, ethical, and measurable. Choose one next move this week, write your one-sentence service promise and confirm it fits your legal and professional boundaries. That focus supports resilience, stable care delivery, and career fulfillment in wellness.
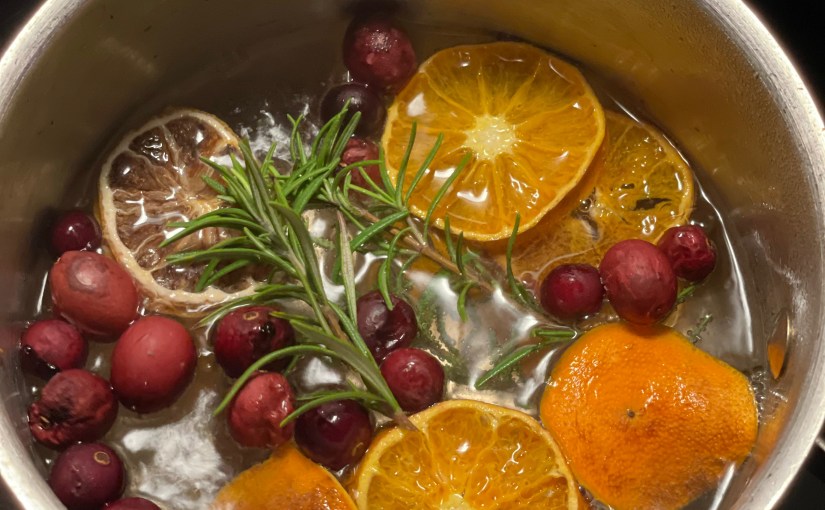
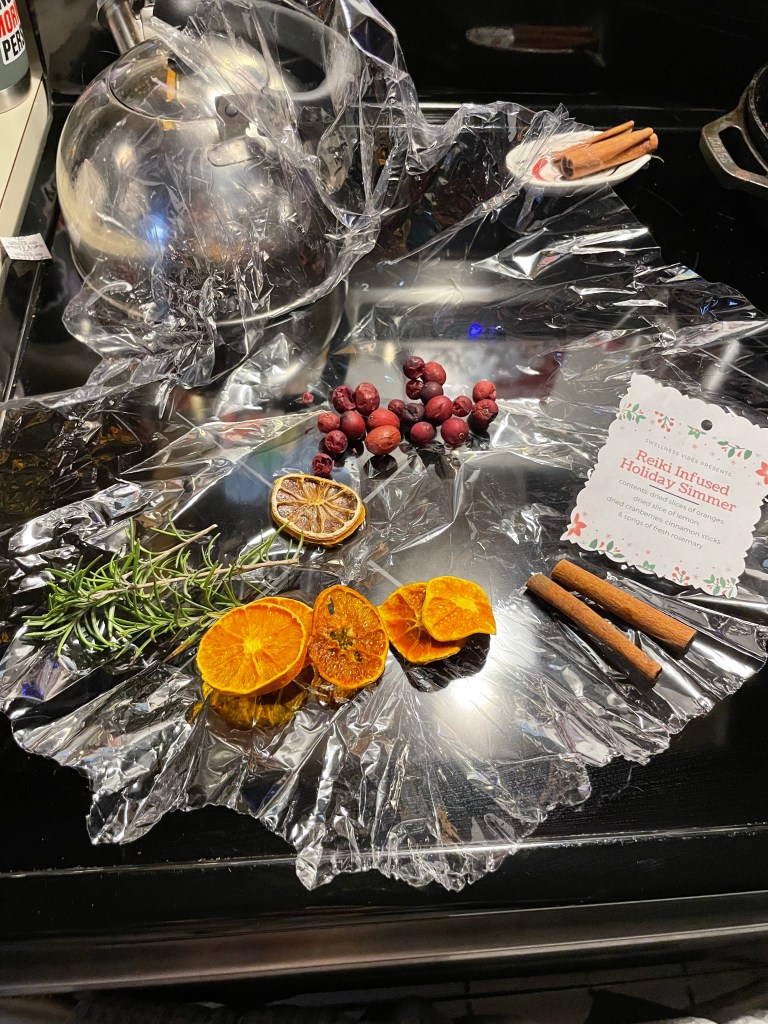
I will be selling these at my bodywork location over the holidays, but you can also make or tweak your own. Now, I have an old dehydrator that was created with dried fruit in mind, but you could also try to dry out your pieces via a stove, at about 200 degrees, for 3+ hours.
Things you can add in: cloves, cardamom, other fruits and spices you find pleasing.
Spices & Everything Nices
To use:
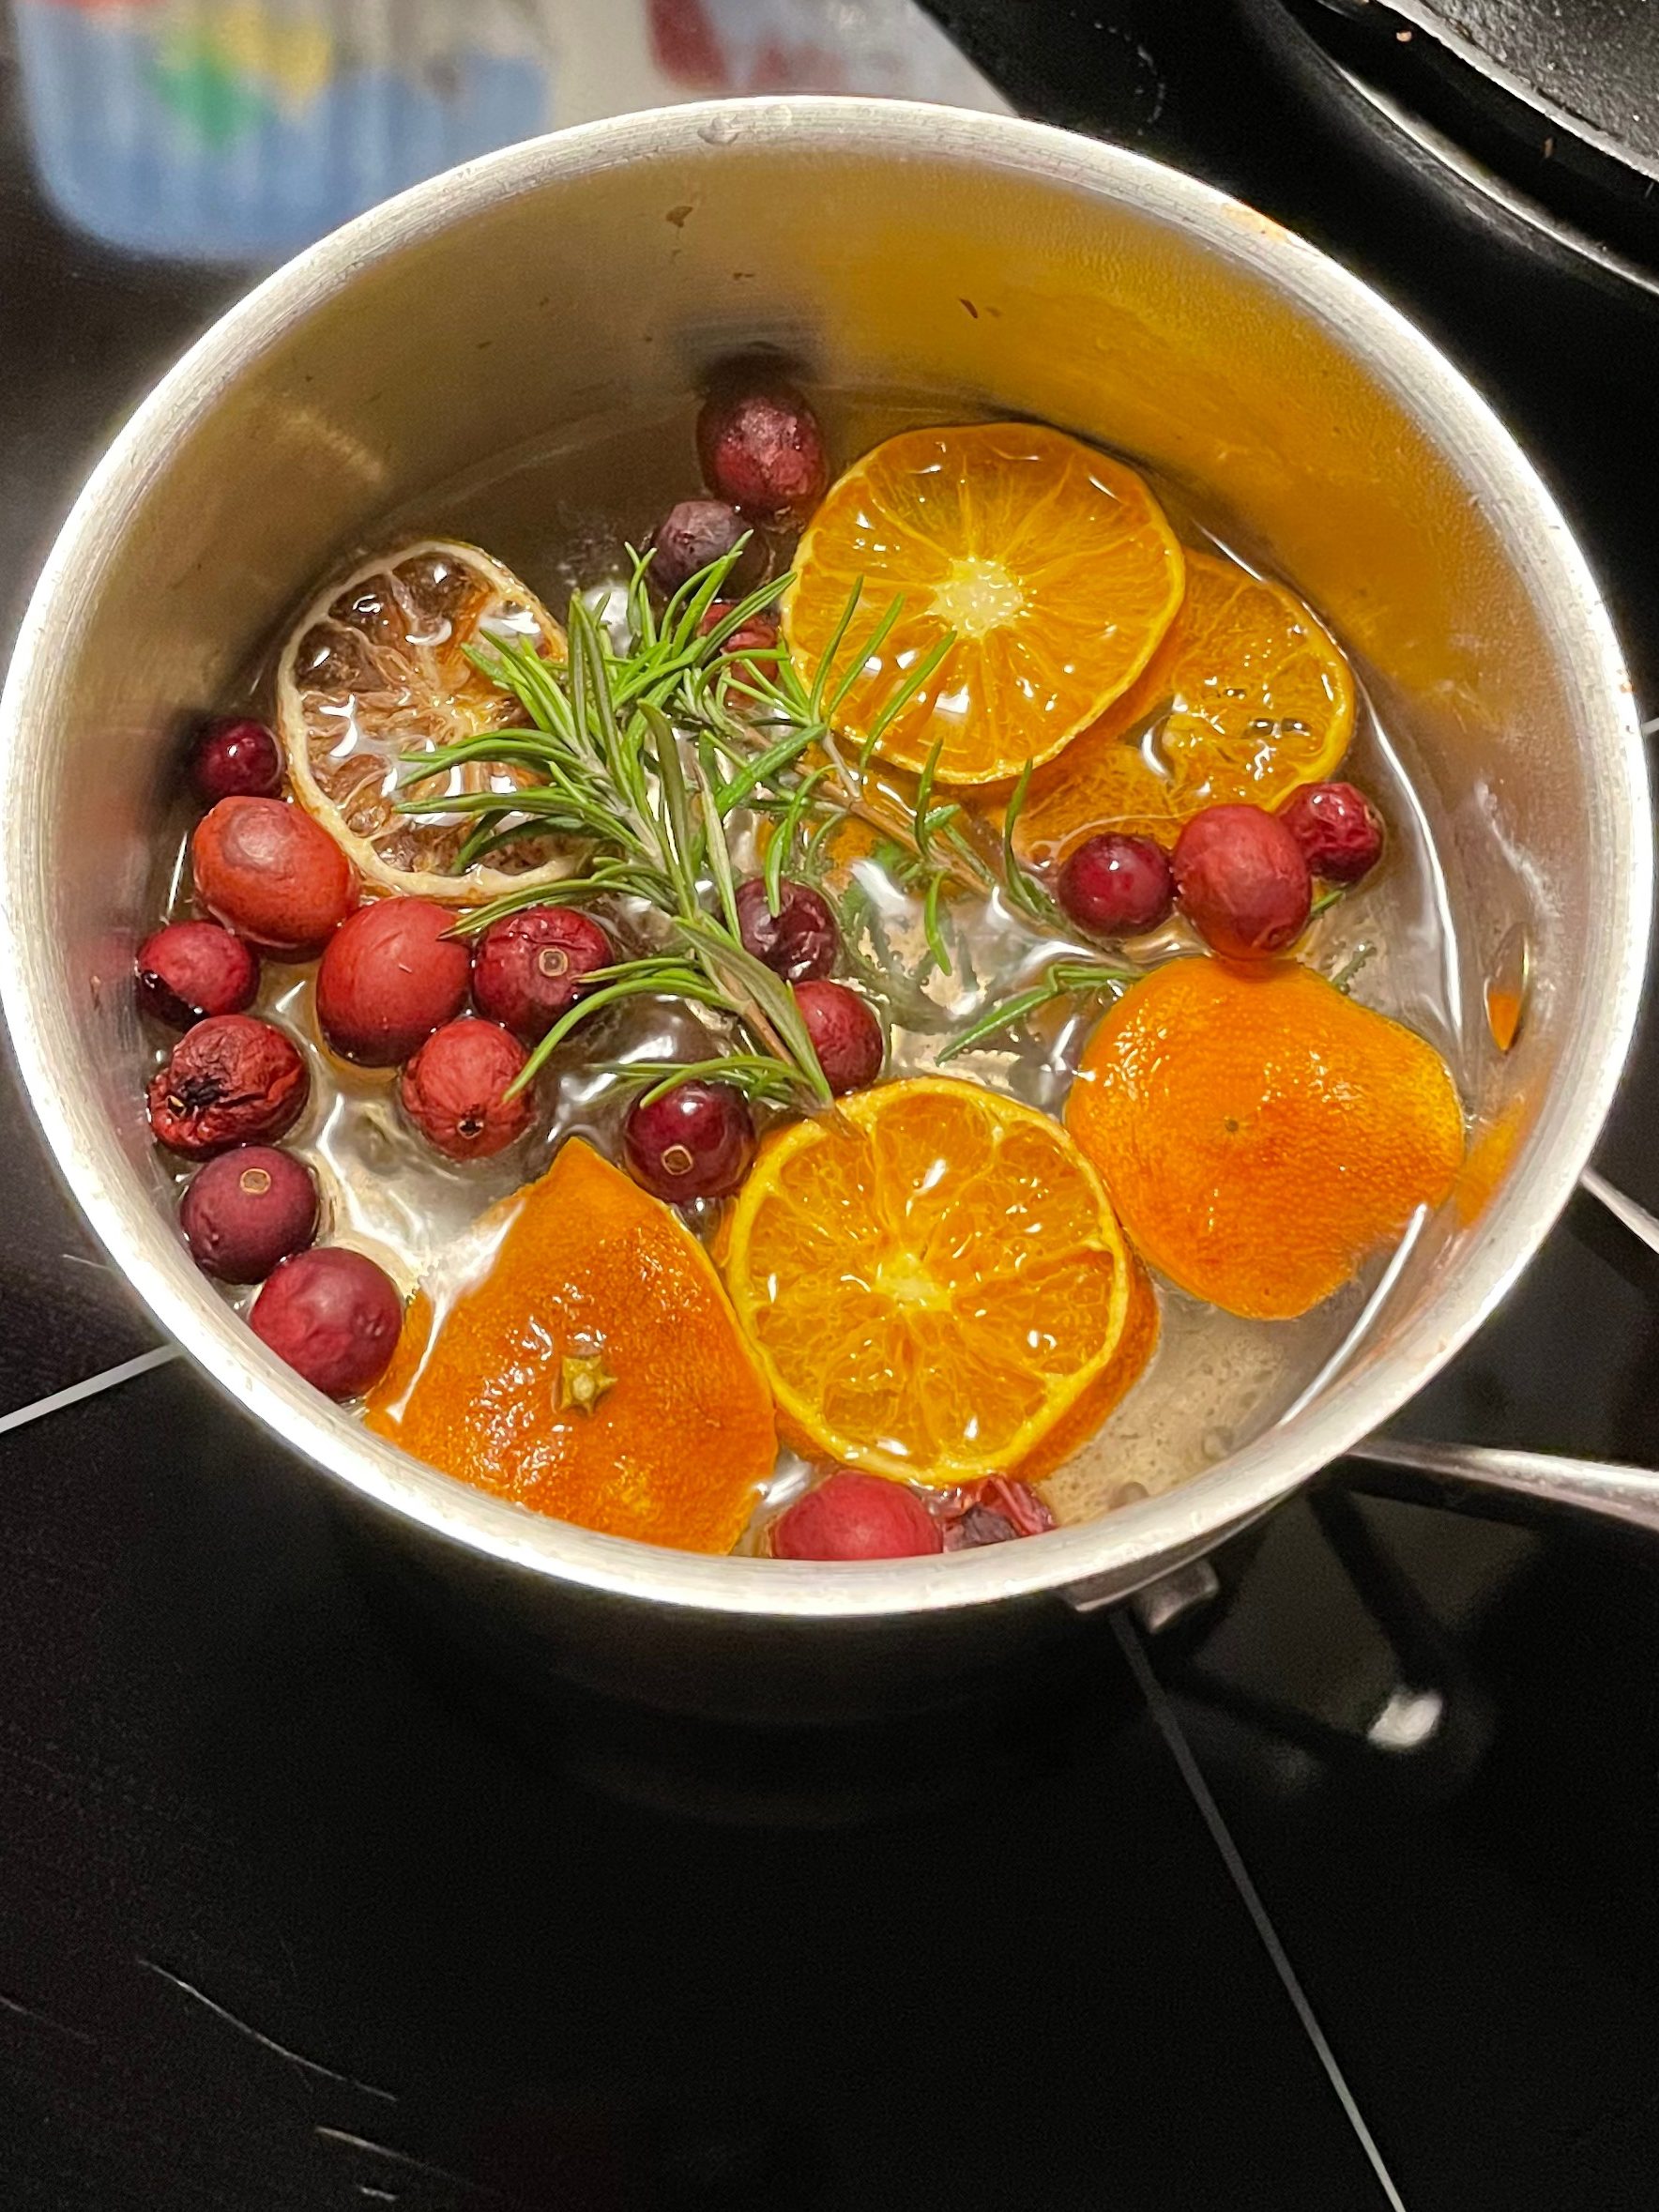
Put ingredients into a pot of water on your stove. Boil to start, then set to simmer. Add water when it gets low. Don’t burn your house down!!! Don’t leave it unattended, and don’t leave it on overnight.
Enjoy. Find immense happiness with the way your house smells.
Created with lots of love, and Reiki infused throughout the entire process!
I have officially been diagnosed with eczema, and as I think back over my life, of course this crud has been eczema. Every stinking winter it bothers me. While I have other skin issues–potentially the you’ve-got-to-be-kidding-me-that’s-a-thing cholingeric urticaria–these little unpleasant bumps of itch and burn have been a part of me for a while.
They’ve also been a part of my kid’s life for forever. We call his DragonSkin, a name that evokes strength and purpose. But frankly, this most important organ of his, those burning red winter hands, really bother me. I’m feeling like it’s not a great sign to have the skin look and feel that way. Which, when he was a wee one, I played around with ingredients to create his own ointment.
And now, rather than putting on pure shea butter out of laziness for myself, or looking for my kid’s old eczema creams, I have decided to play and make a new blend!
The inter-webs proclaim that colloidal oats are a gift from the Gods–and I remember the kid’s oat baths–so I looked into it. Why does it work? How do I make it? Can I make it?
Gift from the Gods
Healthline says that the fine powder of oats–which is what colloidal oats are (not to be confused with oat flour)–is made up of minerals, proteins, vitamins, fats and other power-packing nutrients that is valuable for skin. With antioxidant and anti-inflammatory properties, it’s not surprising that studies support the benefits of these oats, nor that the FDA approved colloidal oatmeal as a skin protectant in 2003.
In layman’s terms, it softens the skin, soothes the itch, and helps create a protective barrier to that which may trigger an eczema assault. I can think of other things that create a barrier, like coconut oil, honey, aloe vera, castor oil, and jojoba, which I know from previous usage is easily one of the best oils for the human skin. The internet says things like calendula (oh yeah, I remember that), lavender, chamomile and evening primrose are good for the skin. Wait, what? Isn’t evening primrose for peri-menopause, too? Sure thing.
I inadvertently created a scrub along with an ointment. Do not eat the mixtures, no matter how tempting.
To Make Colloidal Oats
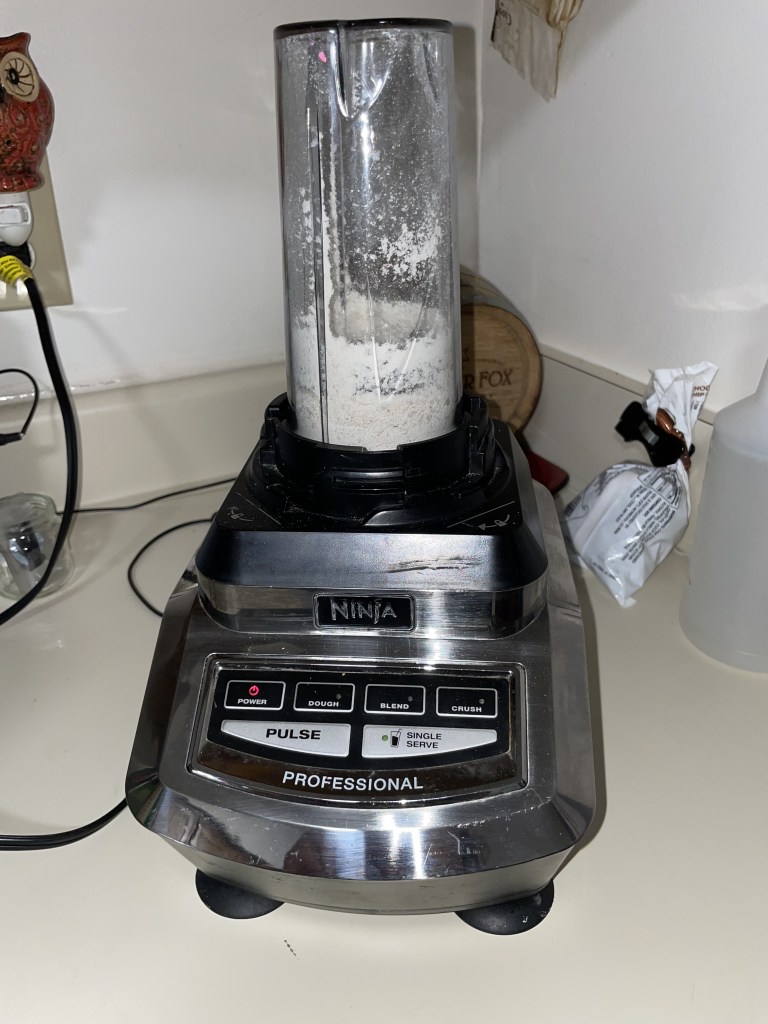
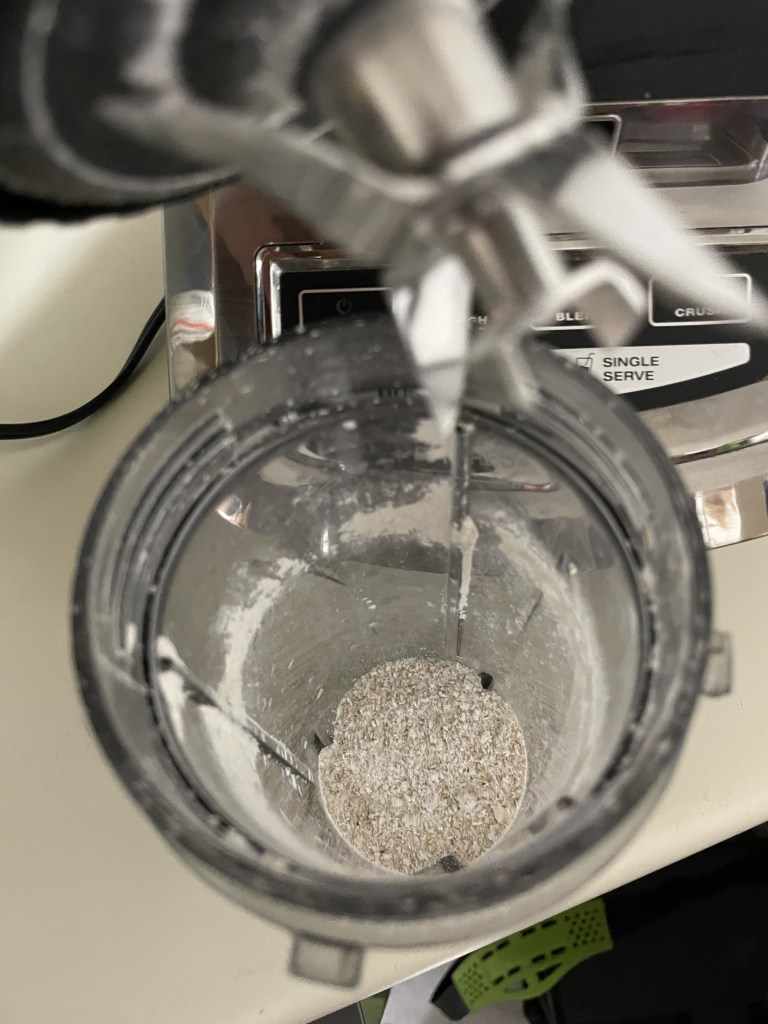
Grind up oats. If it mixes in with water turning it yellow, you’ve succeeded. It’s that easy.
Thank you, Mr. Ninja.Powderized!
Eczema Scrub
1 tbsp of colloidal oats
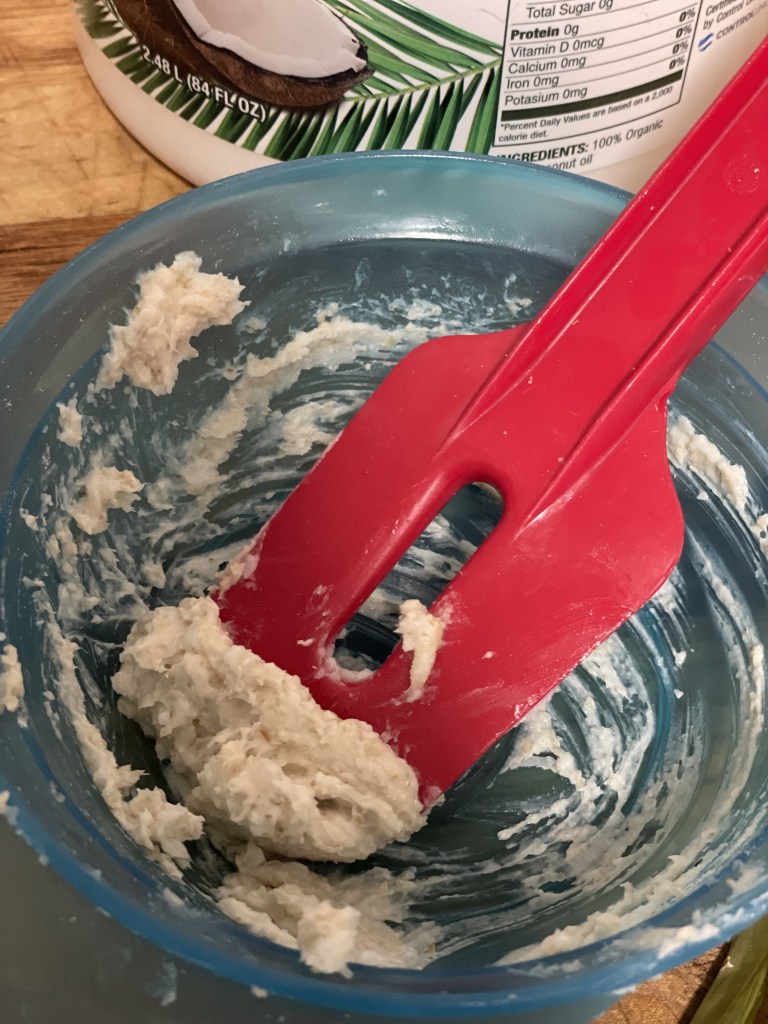
1 tbsp of coconut oil – not melted
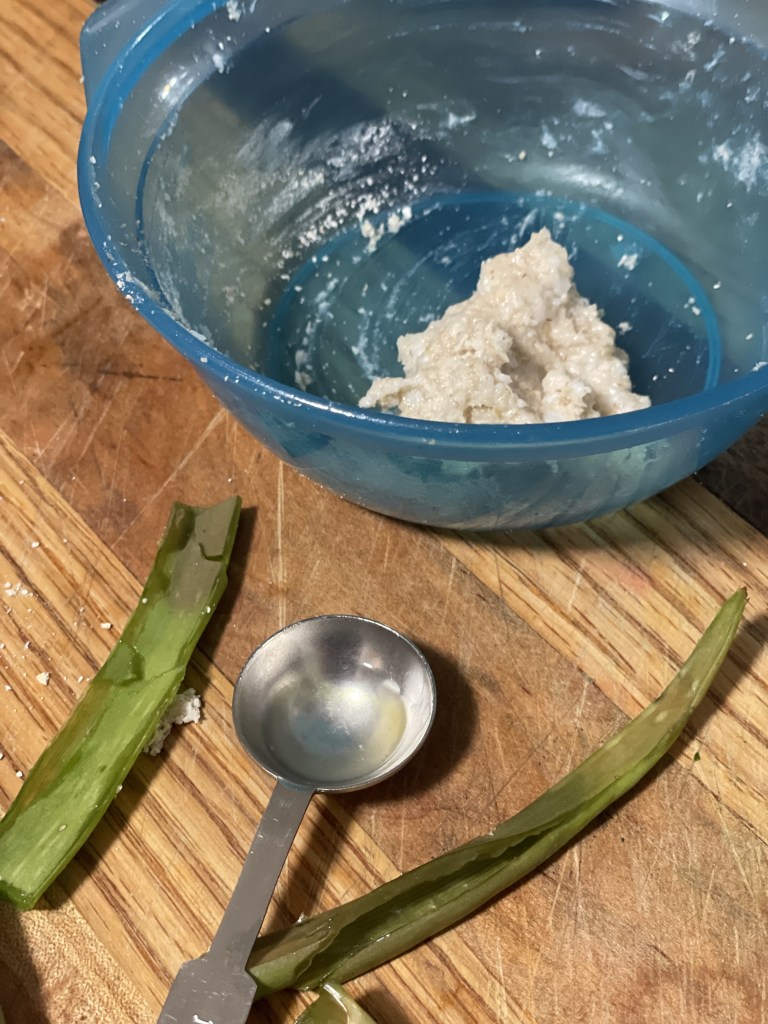
1 tsp aloe vera gel
Mix it all together. Cover with plastic wrap. To use: Wash/Rinse hands as normal with soap. Using a small amount of the scrub, rub it onto your hands. Rinse off; pat dry. Your hands should be left oily. I would have added more aloe had my plant been more productive.
Do not eat! No matter how yummy it smells.
Eczema Ointment
1 tbsp of colloidal oats
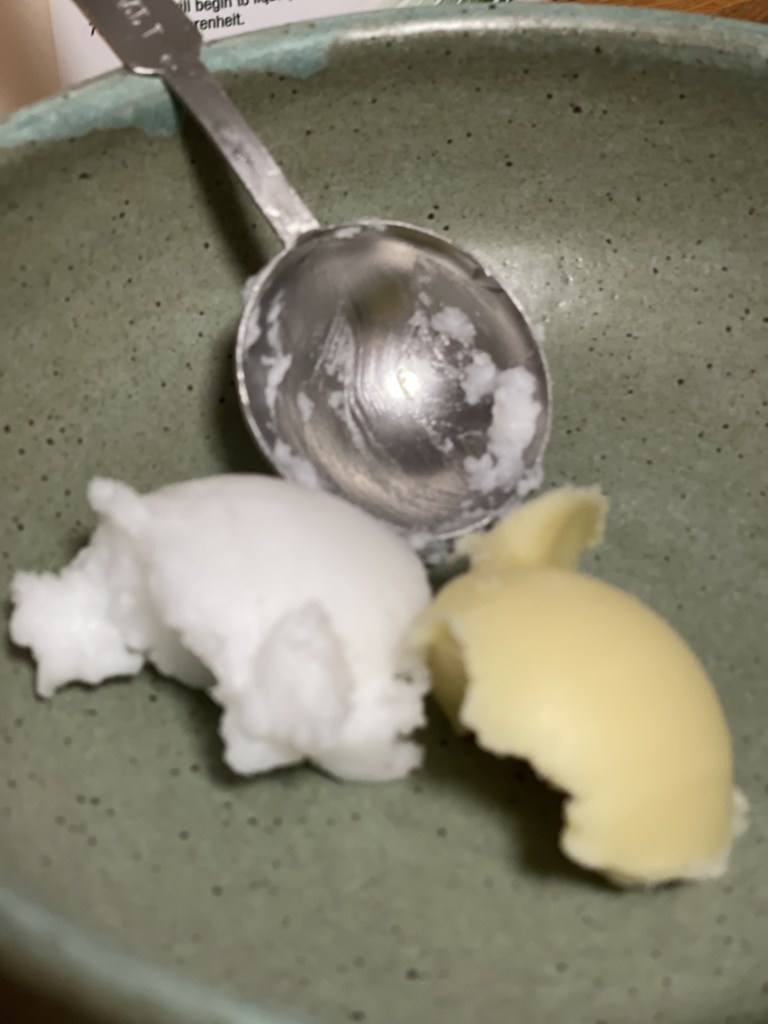
1 tbsp of melted coconut oil
1 tbsp of melted shea butter
1 tbsp of honey
1 tsp of aloe vera gel
30 drops lavender oil
10 drops of evening primrose oil
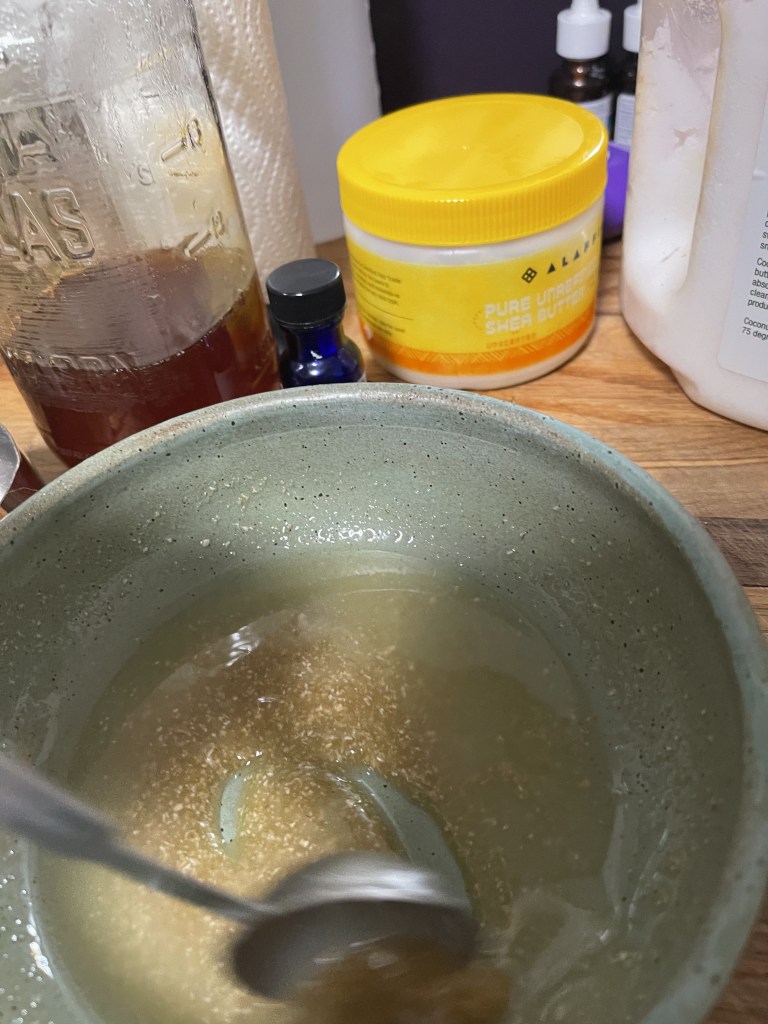
Melt coconut oil and shea butter. Add the oats, honey, aloe vera. Again, I would have added more aloe had my plant cooperated. Once fully mixed together and slightly lumpy, add the lavender and primrose oil. Keep mixing until it is the consistency you like. Put in the fridge. Let harden. Now, after this, you can leave it out at room temperature, but I prefer the cold temp, so I leave it in the fridge. Otherwise it gets too melt-y for me.
Thoughts
I wasn’t a fan of the primrose oil by itself, but in the mixture, it was fine.
I have mixed feelings on the oats themselves–a little messy. I would grind them up even more next time I make this, or hell, maybe just use an oat oil to replace the oats for the ointment. I’m sure it exists. For the scrub, I would leave it.
I also have mixed feelings about the honey because, well, it’s so sticky. Just be prepared to be sticky, I guess, is the answer.
Next time I make some I will use other ingredients–like jojoba, castor oil, etc. Since eczema is an unending fiend in my life, I imagine I will have yearly attempts at creating the best concoction. If not for me, then for the Dragon Skin Kid.
Does this meet the swellness check? Absolutely. Our skin started healing as soon as we started to use this stuff, and it was certainly less itchy.
I wrote a book about a bodyworker. Scenes take place in yoga studios, dojos and meditation rooms. There are crystals, runes, reiki, and elixirs.
While the story itself was therapeutic to write, the fun came in describing the world we holistic health people know and love. I call BS when BS needs to be called, I call confusion when Destiny vs Free Will is on the mind of our characters, and sneak in some recipes at the back of the book.